Installation
Open WordPress Dashboard and go to the plugins section. Click Add new button.

On next page click button Upload Plugin.

Click Select file and select archive unreal-flip-book.zip from the downloaded archive (Pro version). And click Install Now.

When the installation finishes click Activate Plugin.
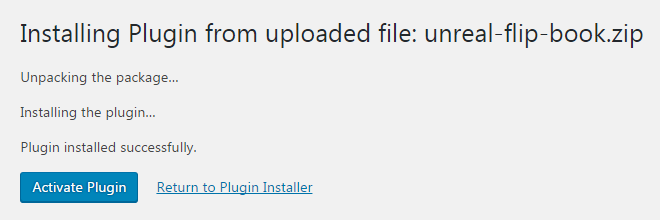
Now you can see the plugin main menu in your Dashboard.

That is all. Now you can use all plugin functionality.
Creating 3D FlipBook from PDF
Got to the plugin main menu and click Add New.

Click button Select PDF in section Details.
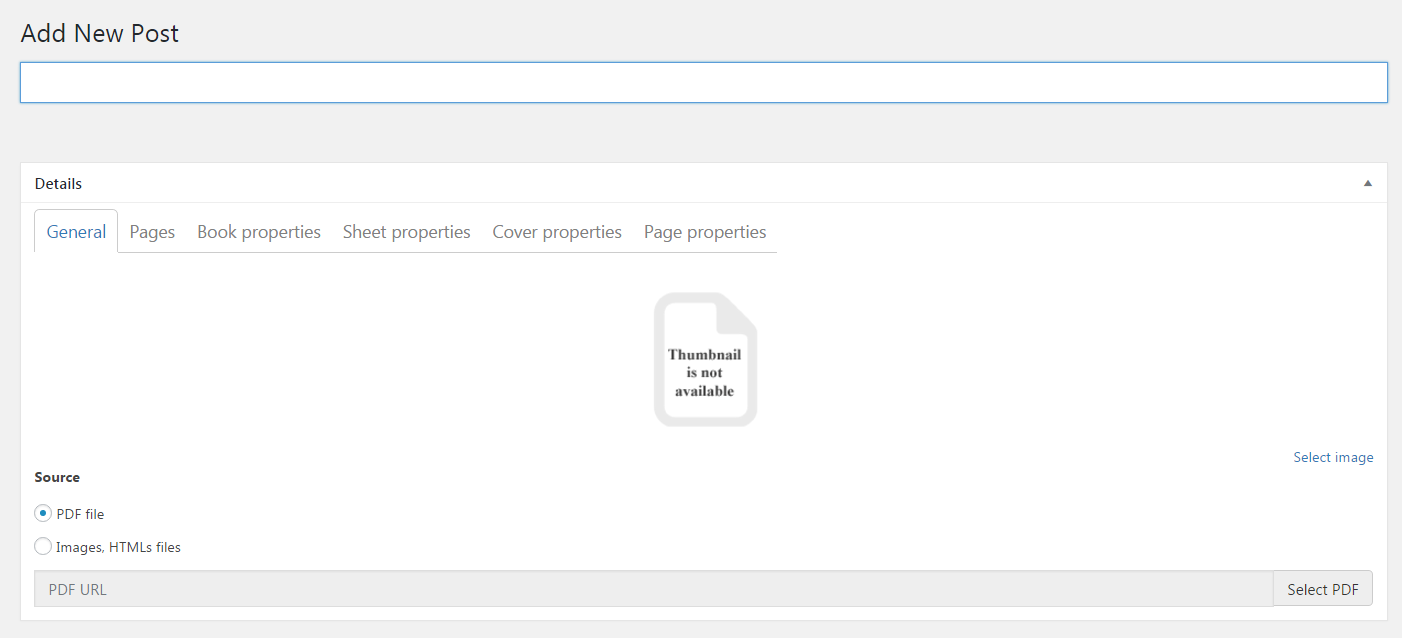
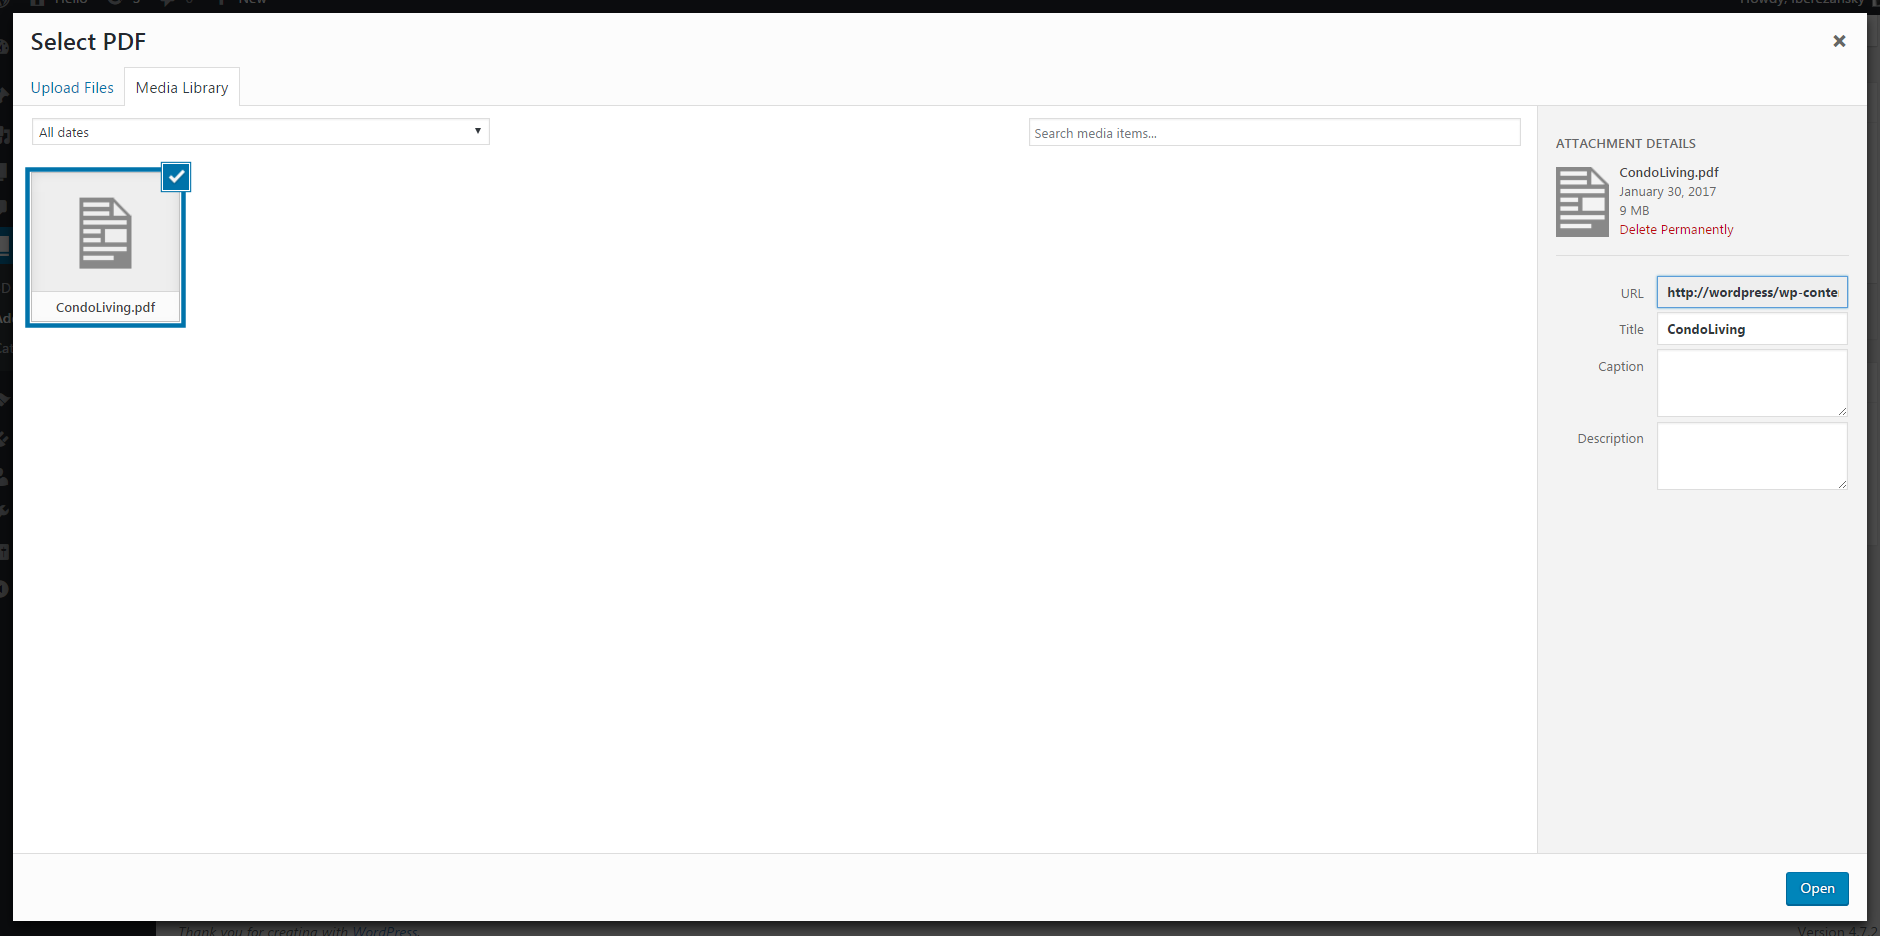
Select any PDF file or upload a new one by means normal WordPress service.
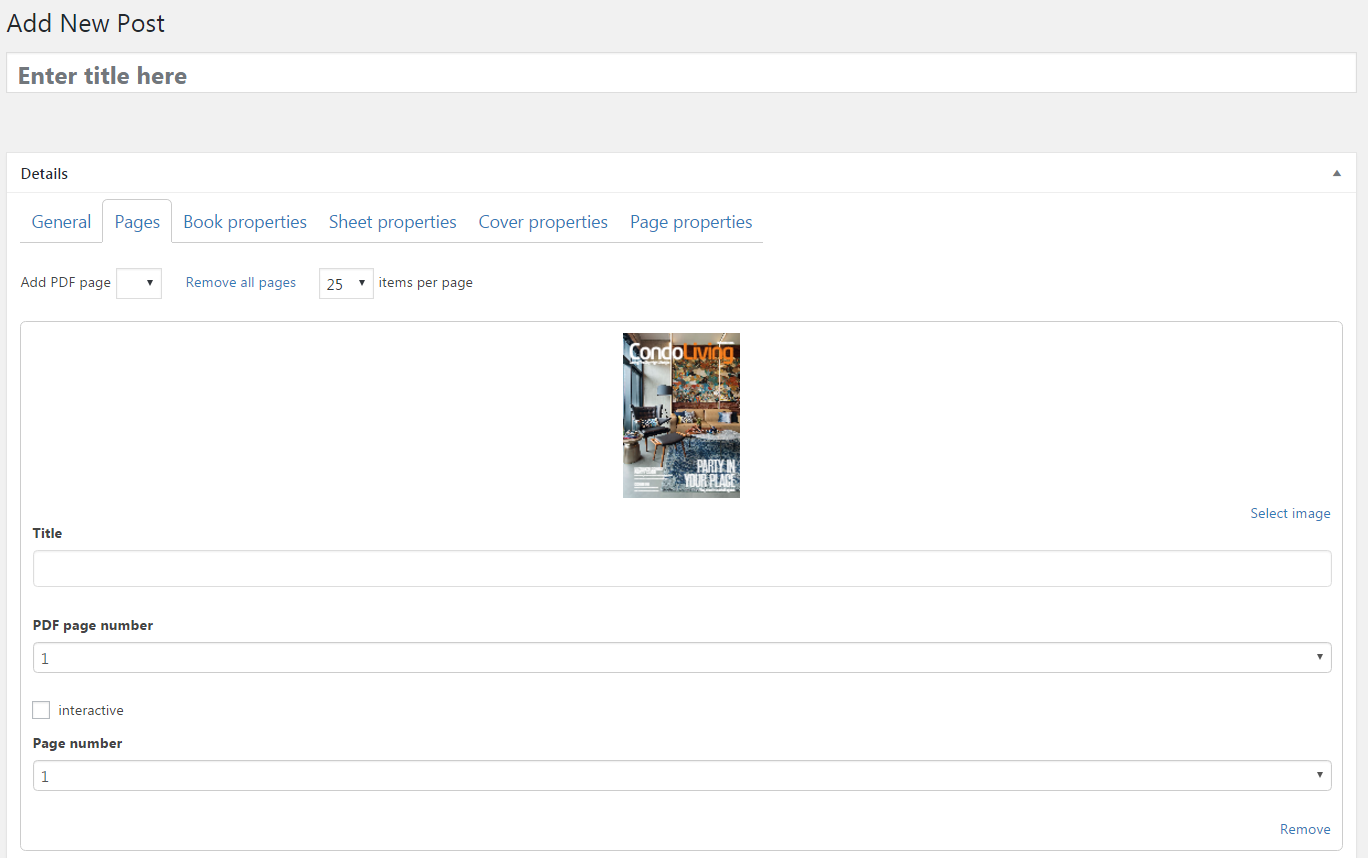
Go to the tab Pages. There are all 3D FlipBook pages. You can manage them: remove, add others or change their order, titles and thumbnails. The check mark interactive lets users to use pdf links if there are some.
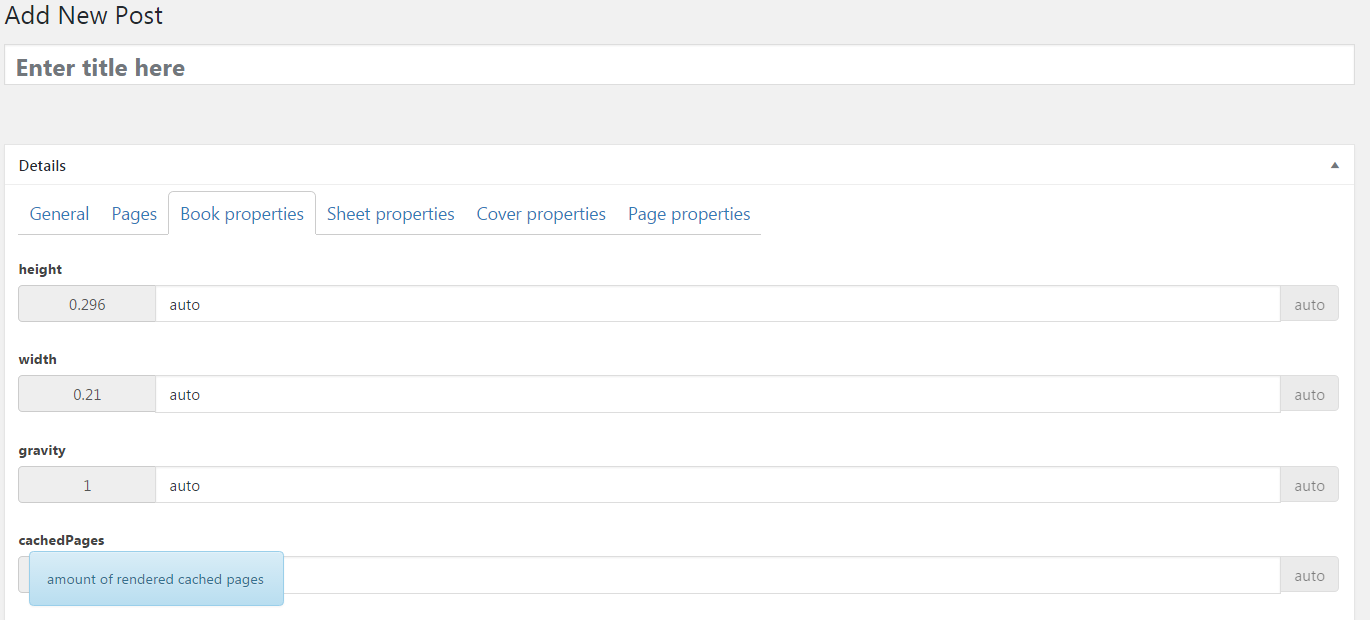
Click Book properties tab. This tab and next three let you play with 3D FlipBook appearance and its behaviour. If you need help place the cursor over property name. By default all properties are computed automatically.
Go back to the tab General, type the title and click the button Publish.
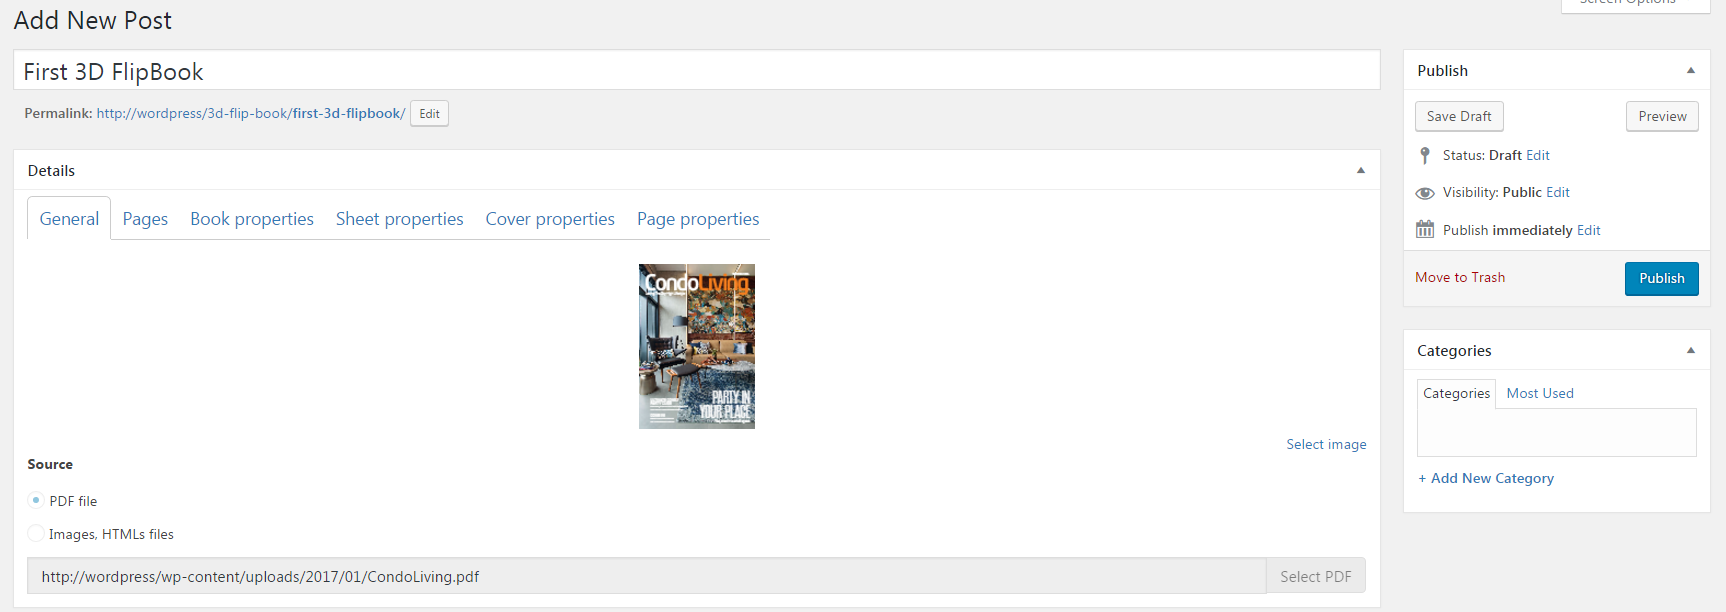
That is all. You have created your first 3D FlipBook.
Inserting 3D FlipBook into a post
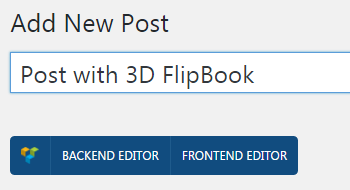
Create new Standard Post. Type its title and publish. Click FRONTEND EDITOR.
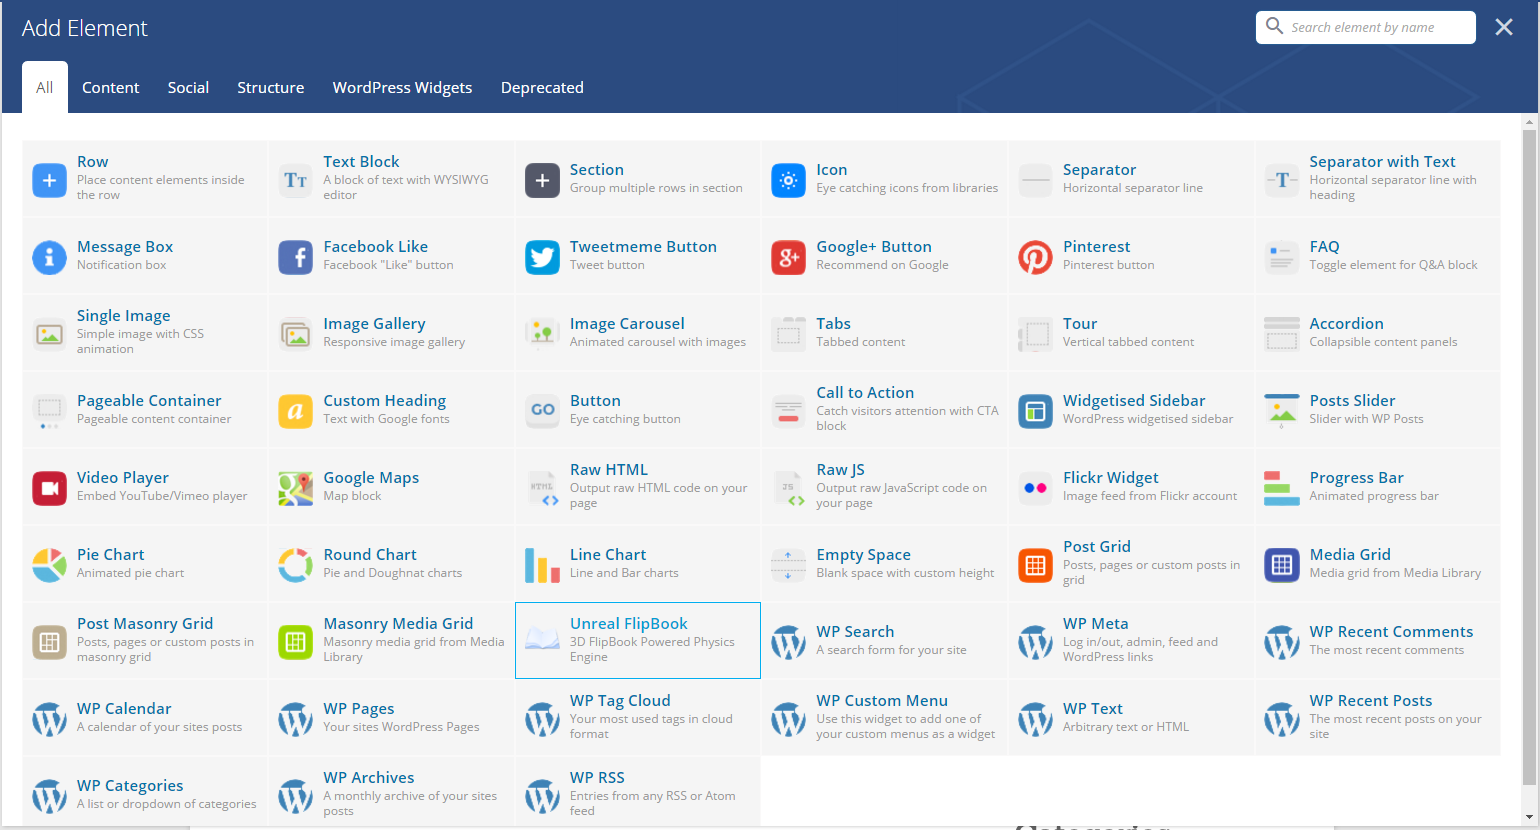
Click Add new element and select Unreal FlipBook.
There Insert 3D FlipBook should appear. Select your book and do to the tab View mode.
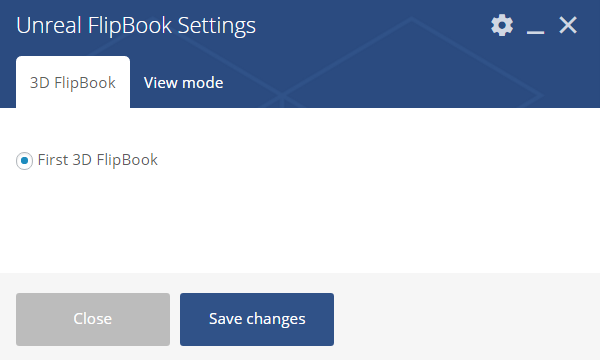
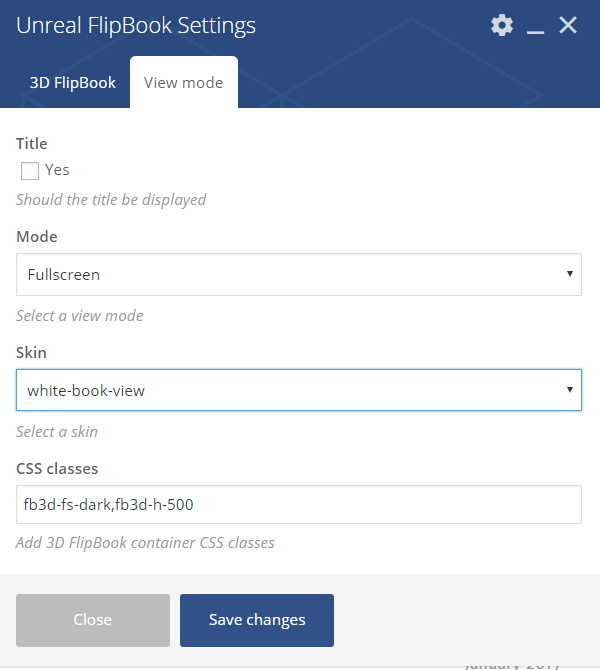
Select Fullscreen, if it is necessary check title, select any skin.
Then you can apply any css clases to 3D FlipBook container.
There are predefined classes fb3d-h-x,
where x is number in (100, 200, ..., 1000).
It means height in pixels.
Also you can see the class fb3d-fs-dark. This class
define background when the plugin in fullscreen mode. There are one more
class fb3d-fs-light for bright background.
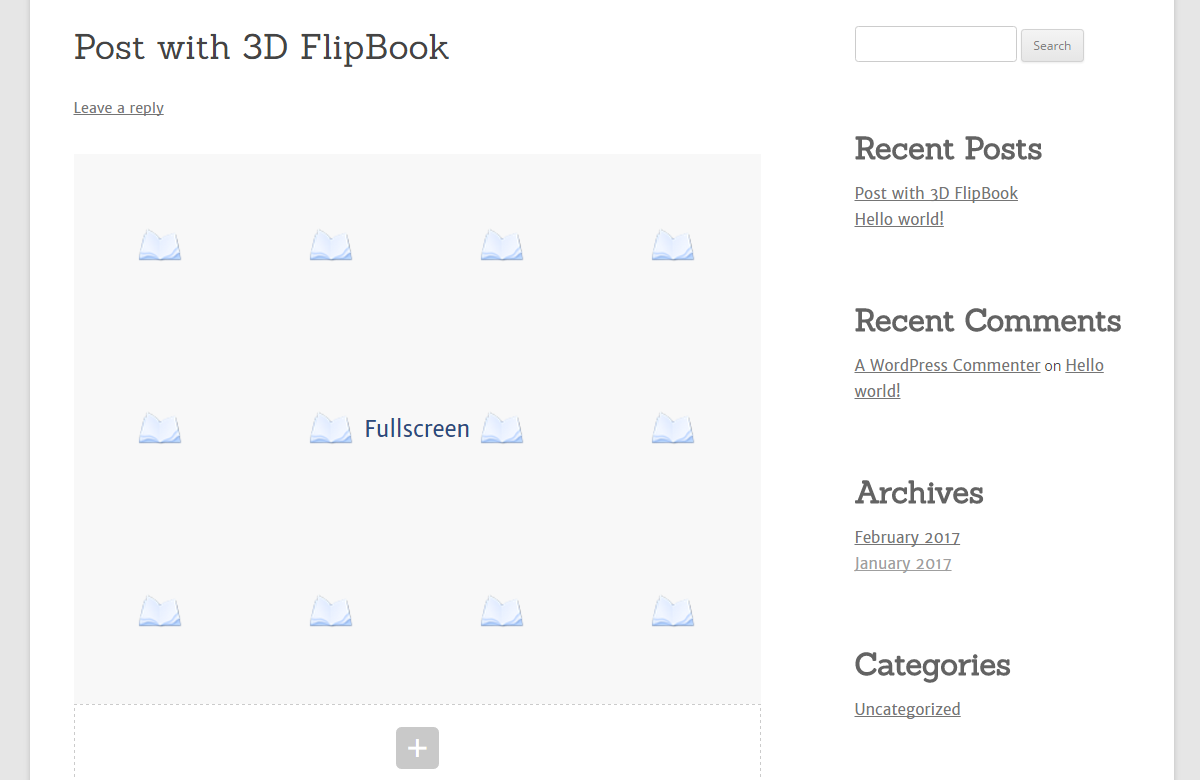
Click Save changes button and you will see the schematical preview, it is specially simplified for high performance in edit mode.
Click Update and close WPBakery.

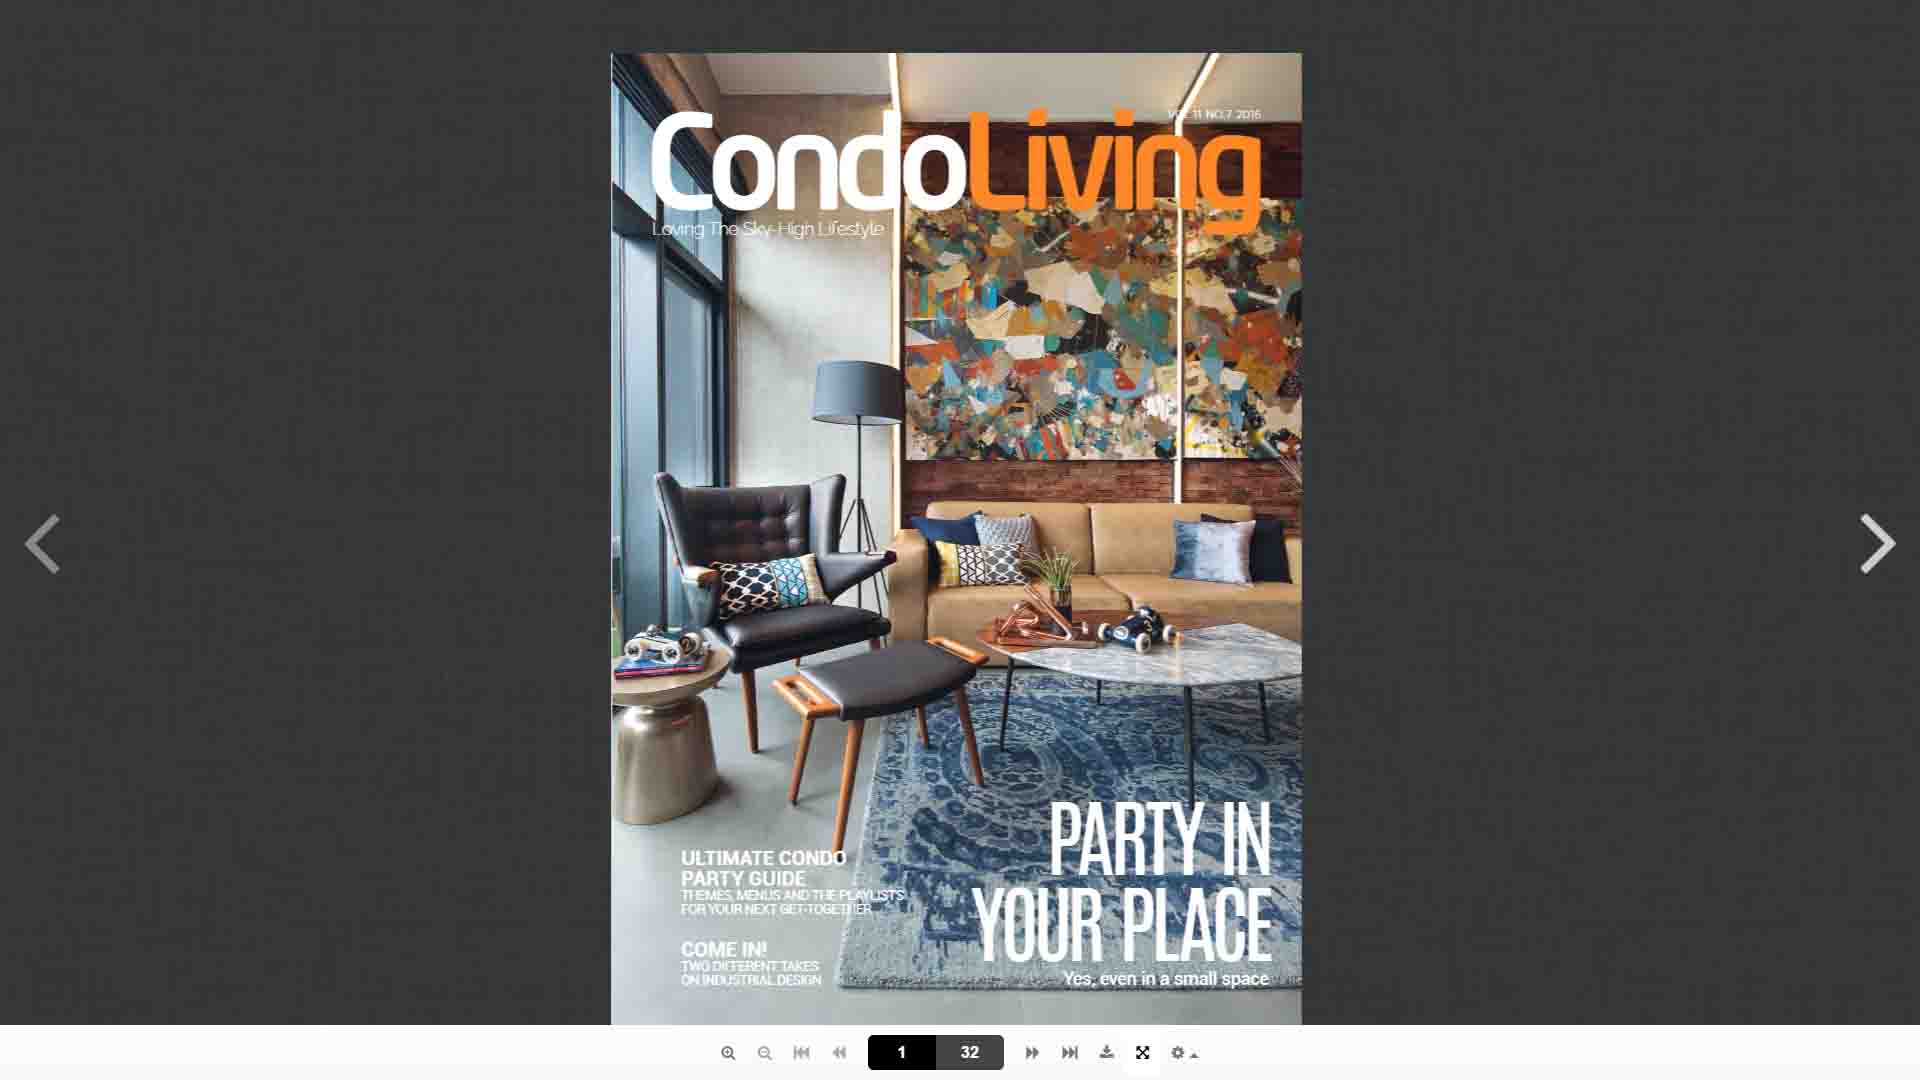
You can see the result.
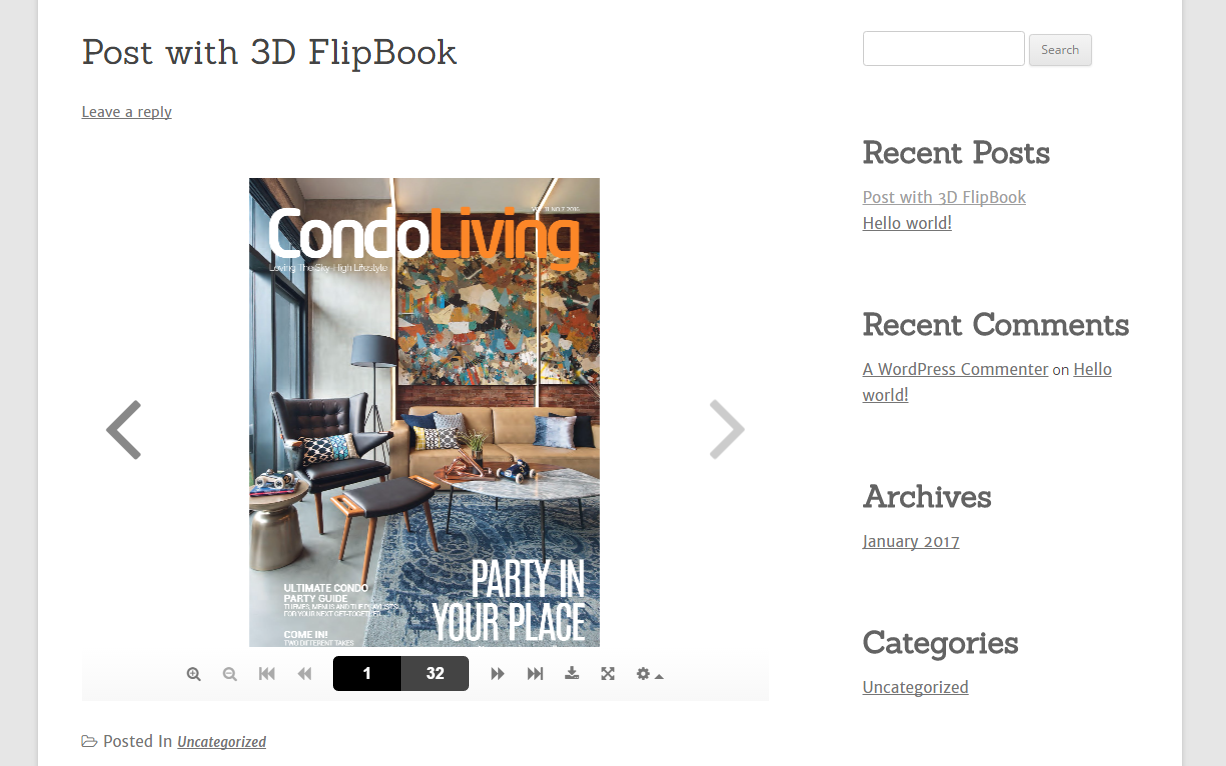
Use the command Full screen on 3D FlipBook bar (the second button from the right).
Inserting 3D FlipBook into a post as a thumbnail
Let us to repeat the process but chose another view mode.
Create and publish a new post then click FRONTEND EDITOR.
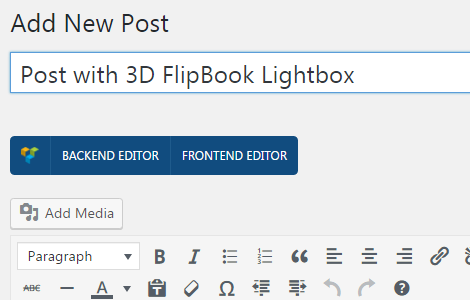
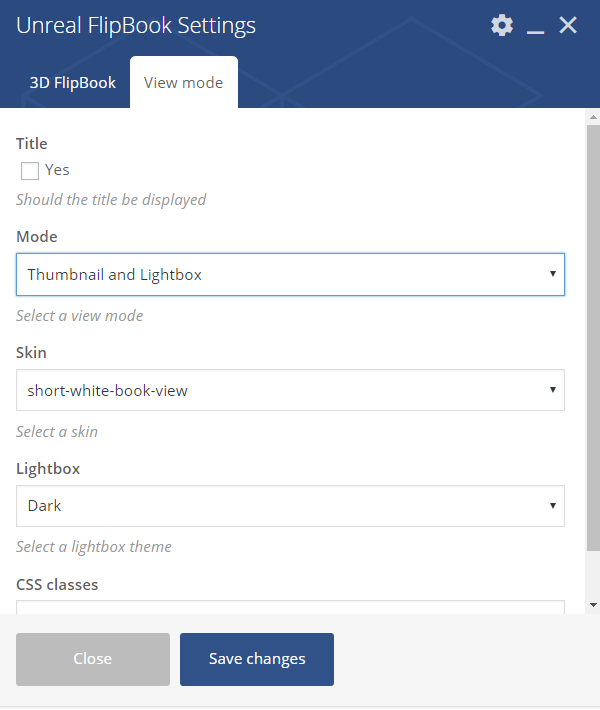
Select the book and go to the tab View mode.

Select Thumbnail and Lightbox, choose any skin and Lightbox theme and click ok. It is not necessary to put any extra classes for this mode, but you can do this for customization.
You can see the schematical thumbnail preview.
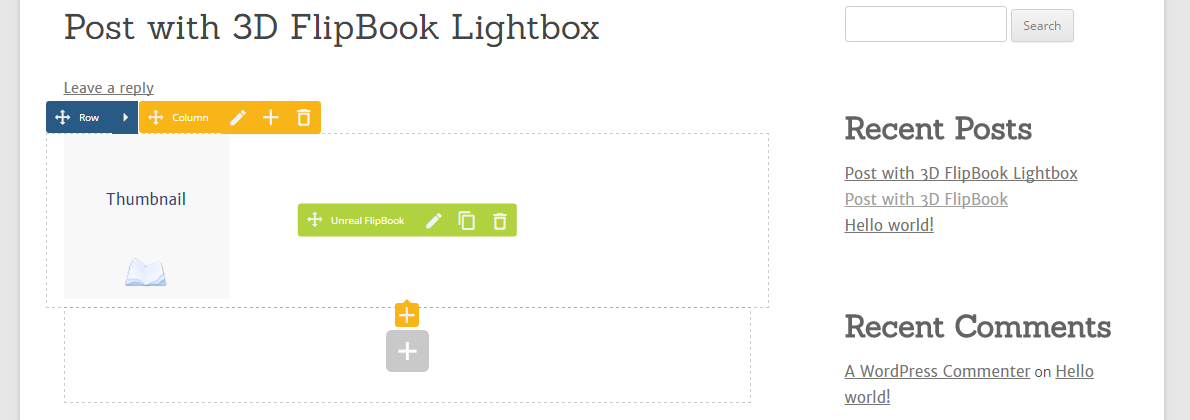
Update the post and close the editor.

You will see only your book thumbnail.

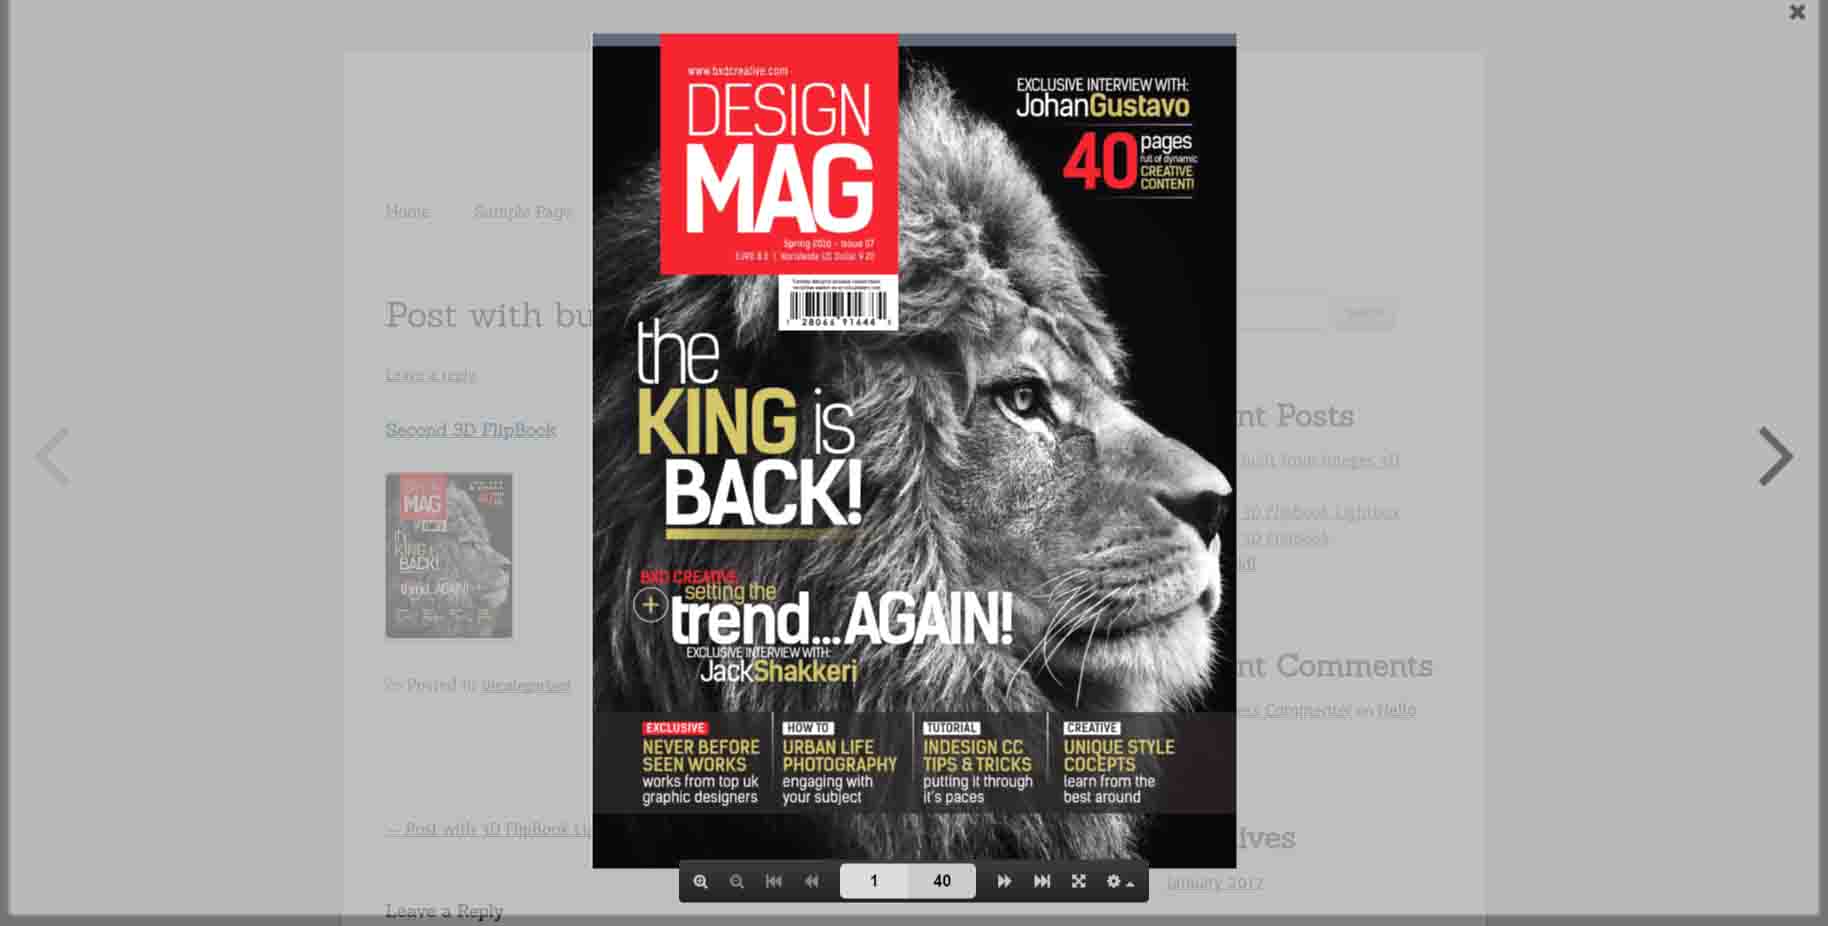
Click the thumbnail to see the Lightbox.
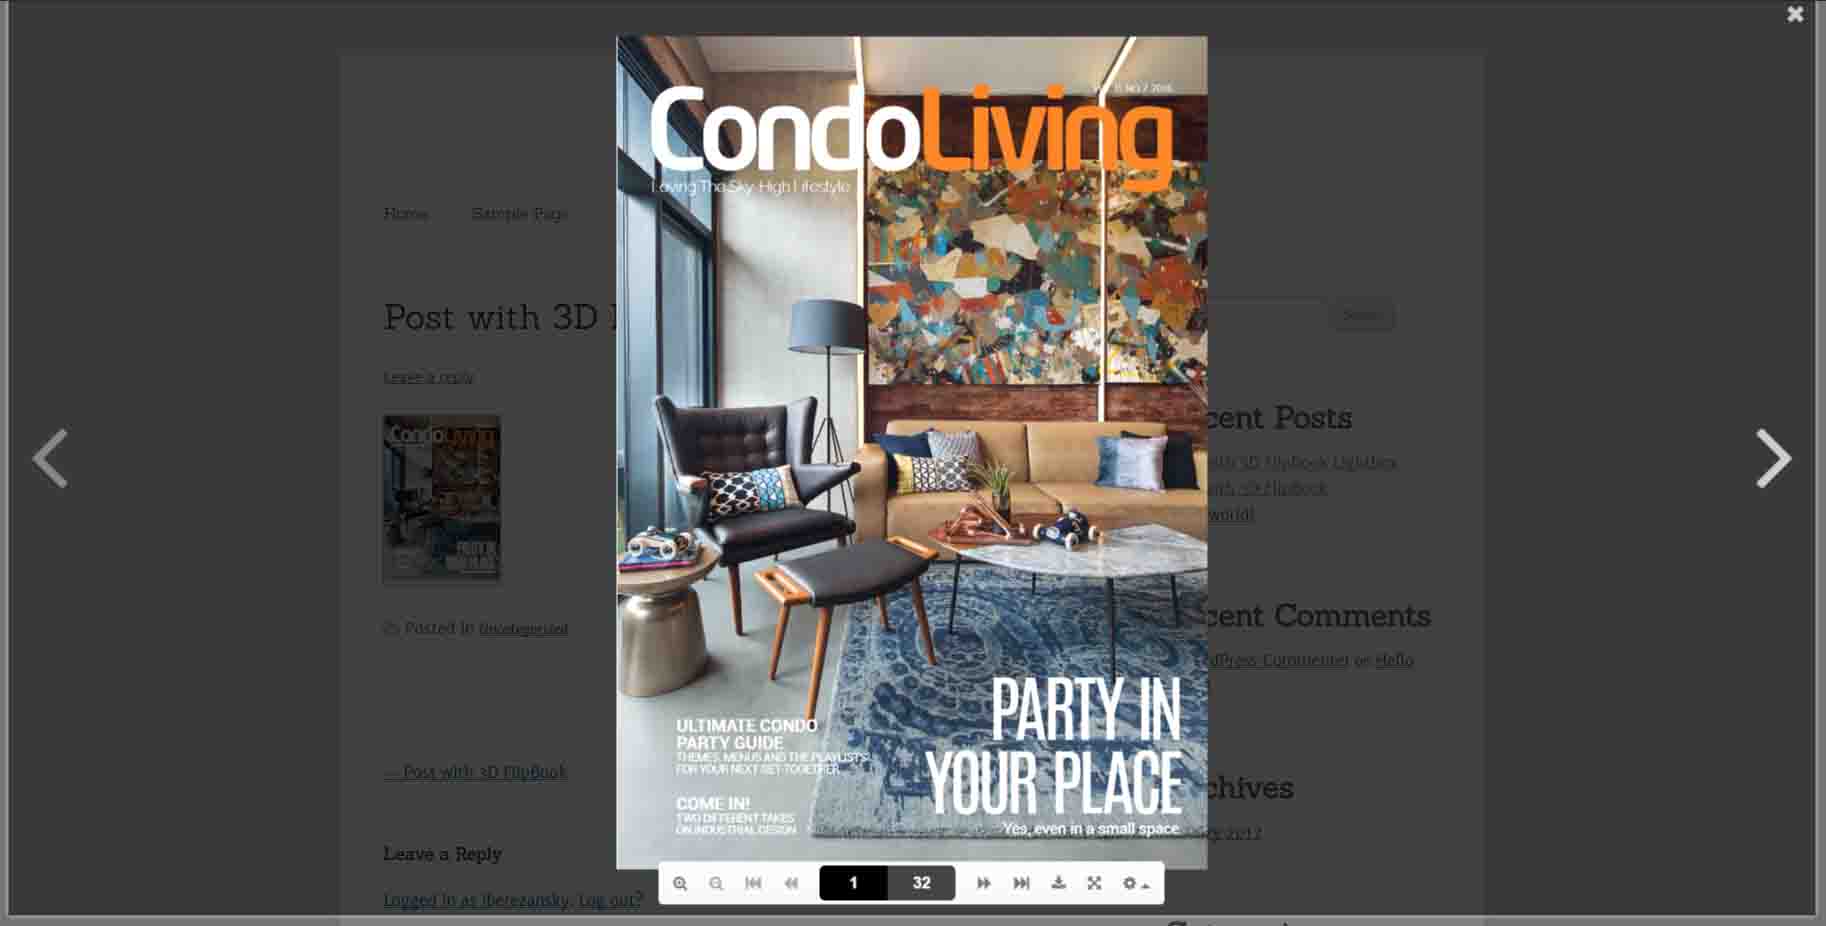
In the end try Full screen mode.
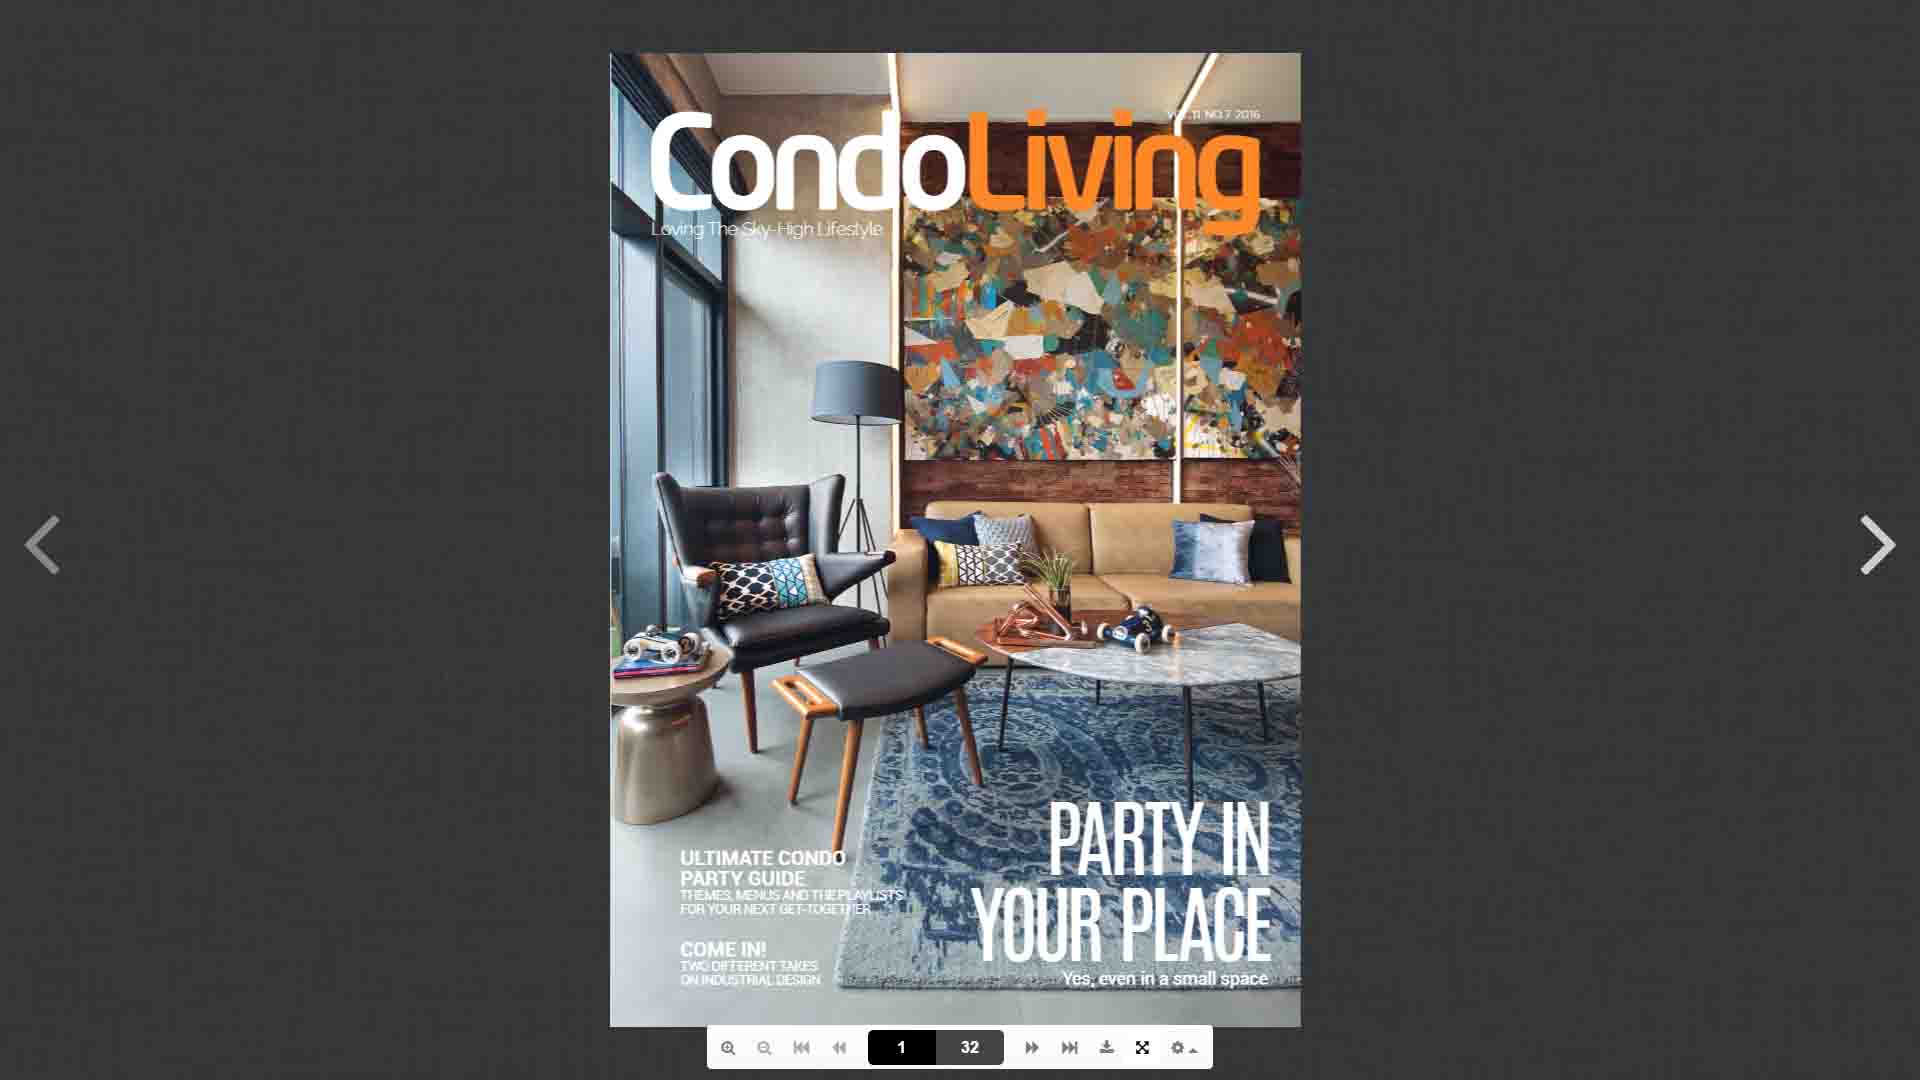
Creating 3D FlipBook from images
Let us to create 3D FlipBook from normal images. Go to the plugin menu and click Add new. Then select Images, HTMLs files.
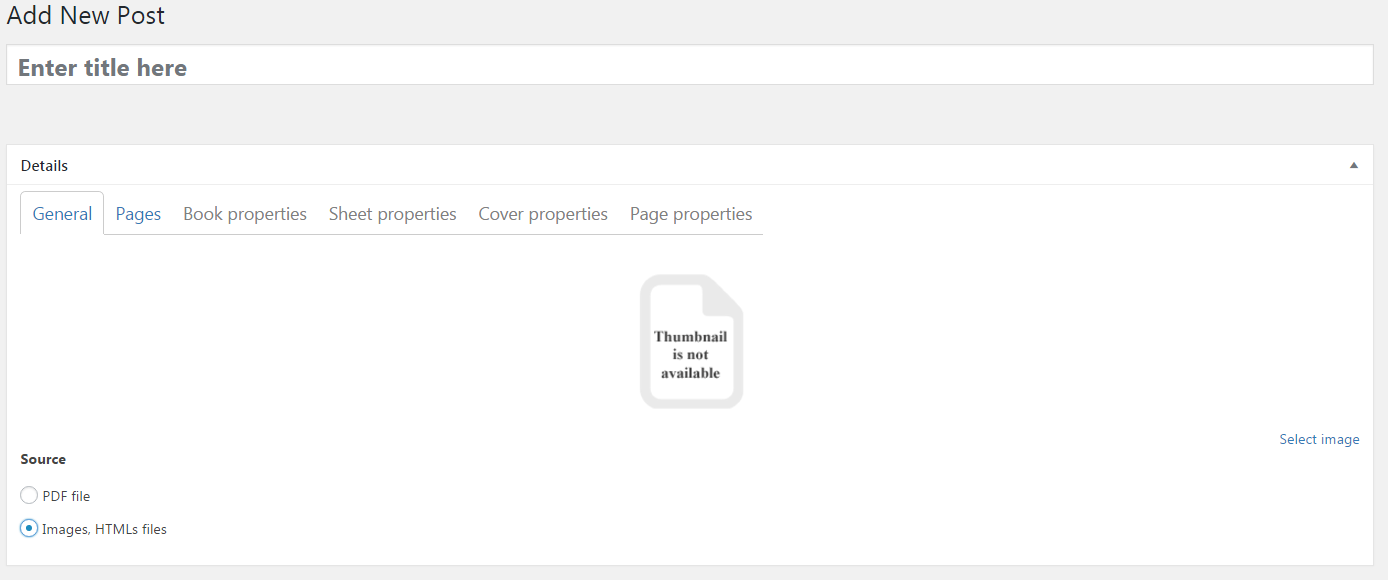
Click the tab Pages and folow the link Add image pages.

Select set of images and click the Open button.
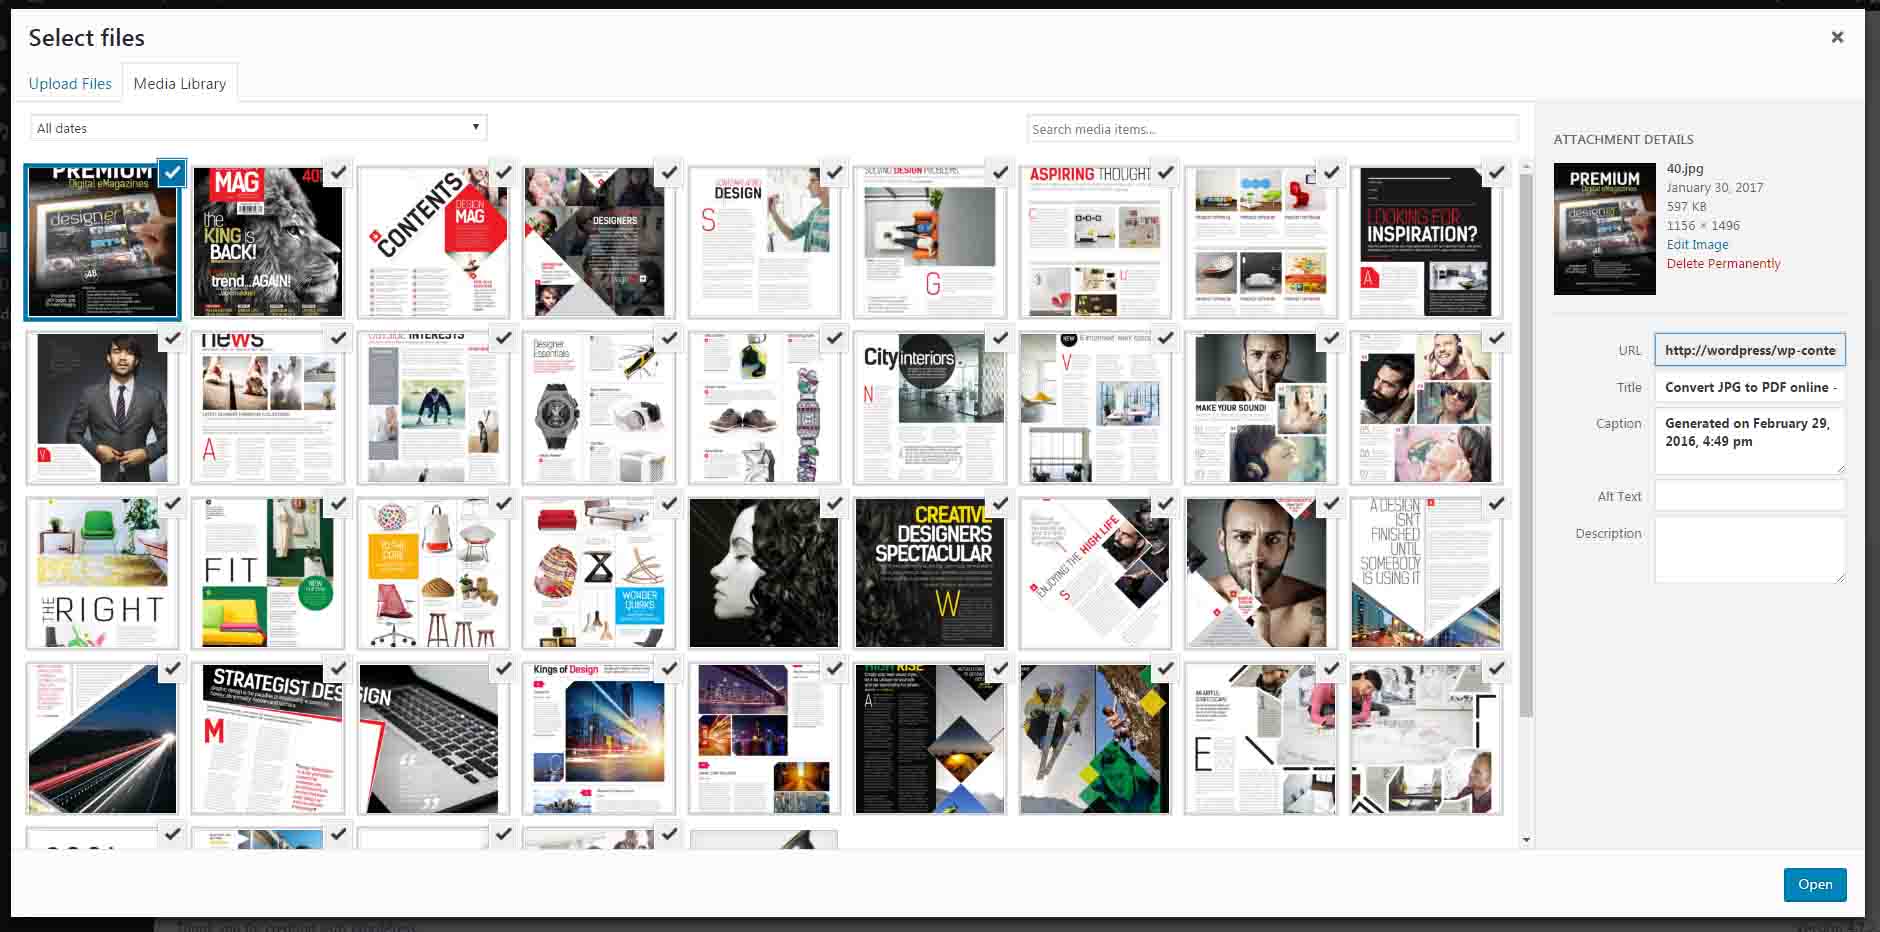
Then you can manage 3D FlipBook future pages or properties or go back to the tab General.
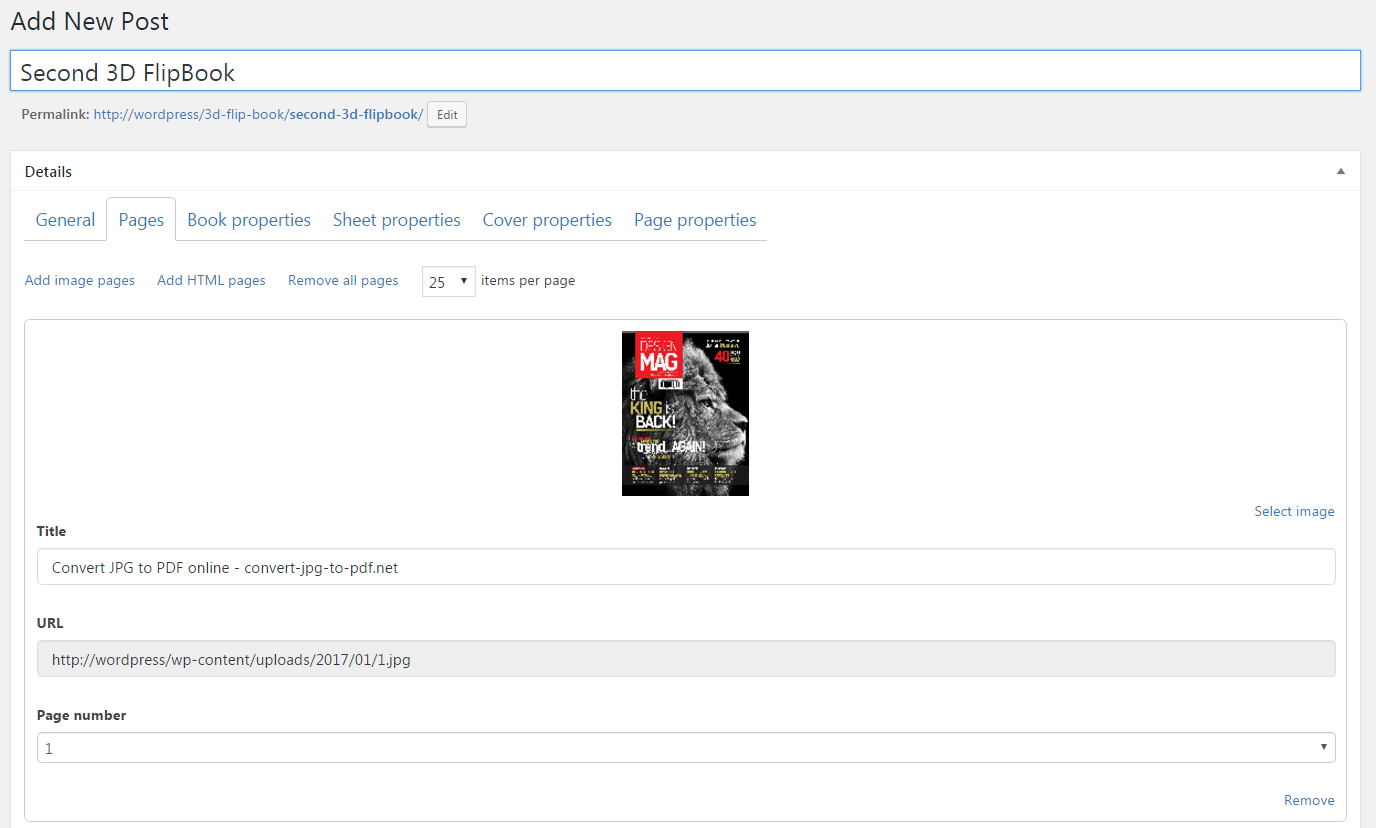
Type the title and publish the book.
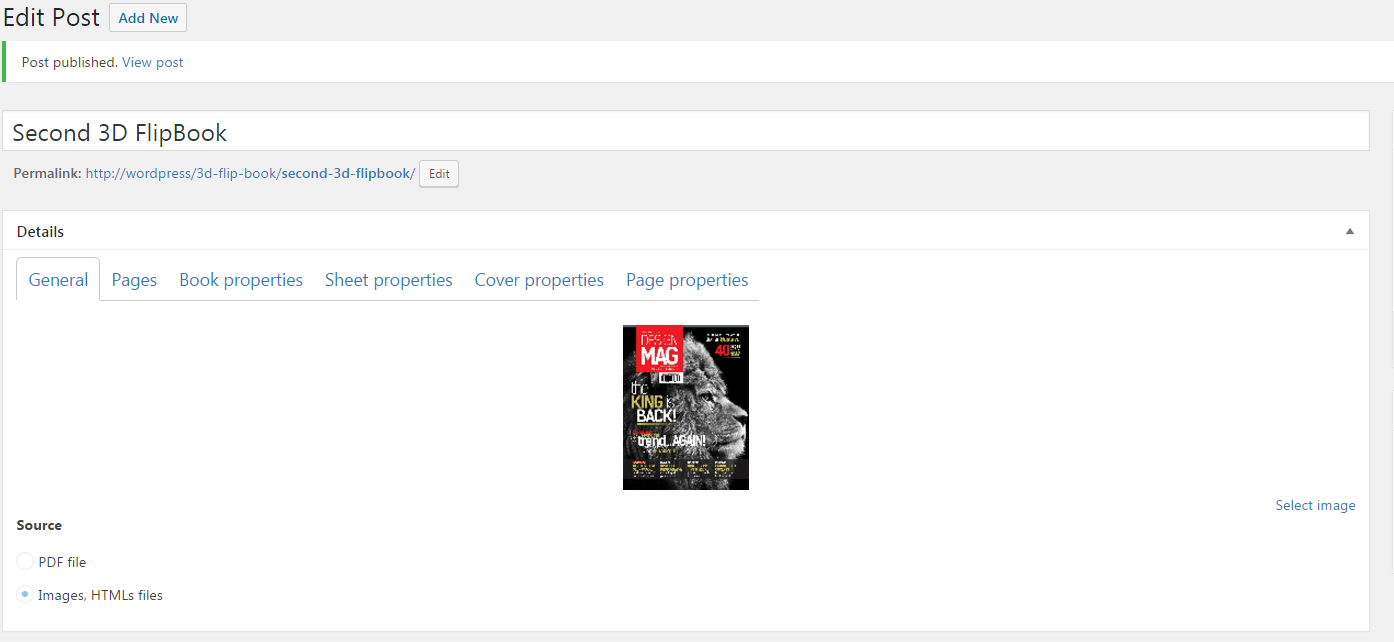
All rest actions you already know. Create a new post and insert the book.
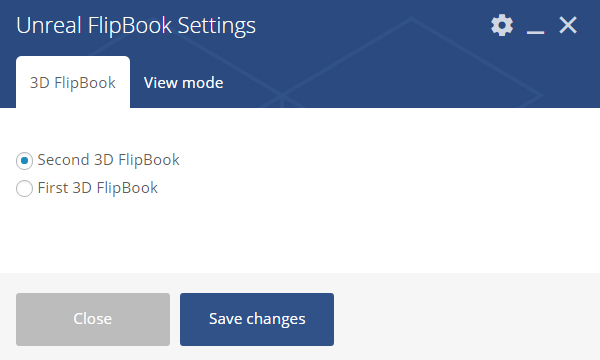
Select appropriate view mode.

Save changes, update the post and close WPBakery.
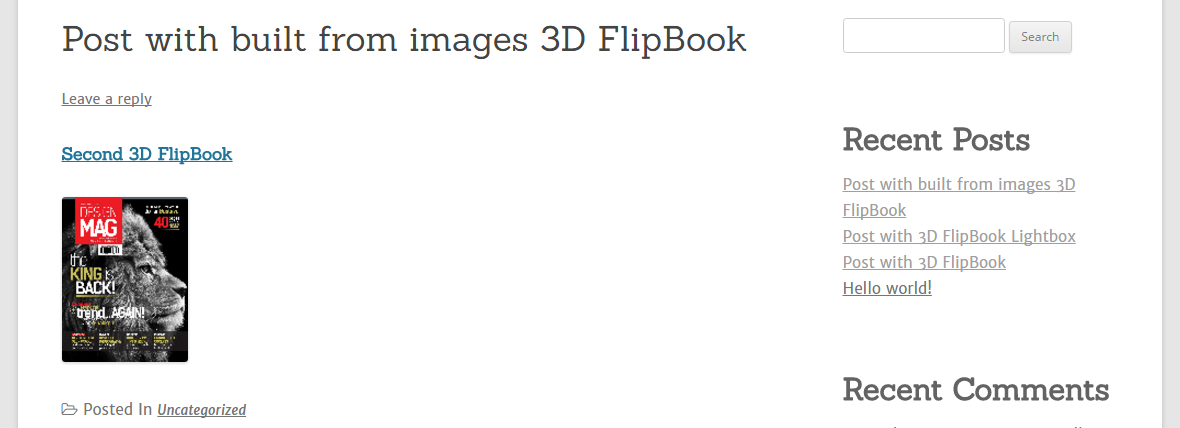
I choosed Thumbnail and Lightbox.
That is all. Enjoy using the product and feel free to contact me if you have any issues.
